
Set up stations
A station is a place on your floor where a step of the work happens, like Cut, Weld, Paint, or Pack. Each item’s routing lists the stations it goes through, and each station can have one tablet where its operators sign in and work the jobs waiting there.
Admins add, rename, reorder, archive, and restore stations. Managers can see them. Go to Settings → Stations.
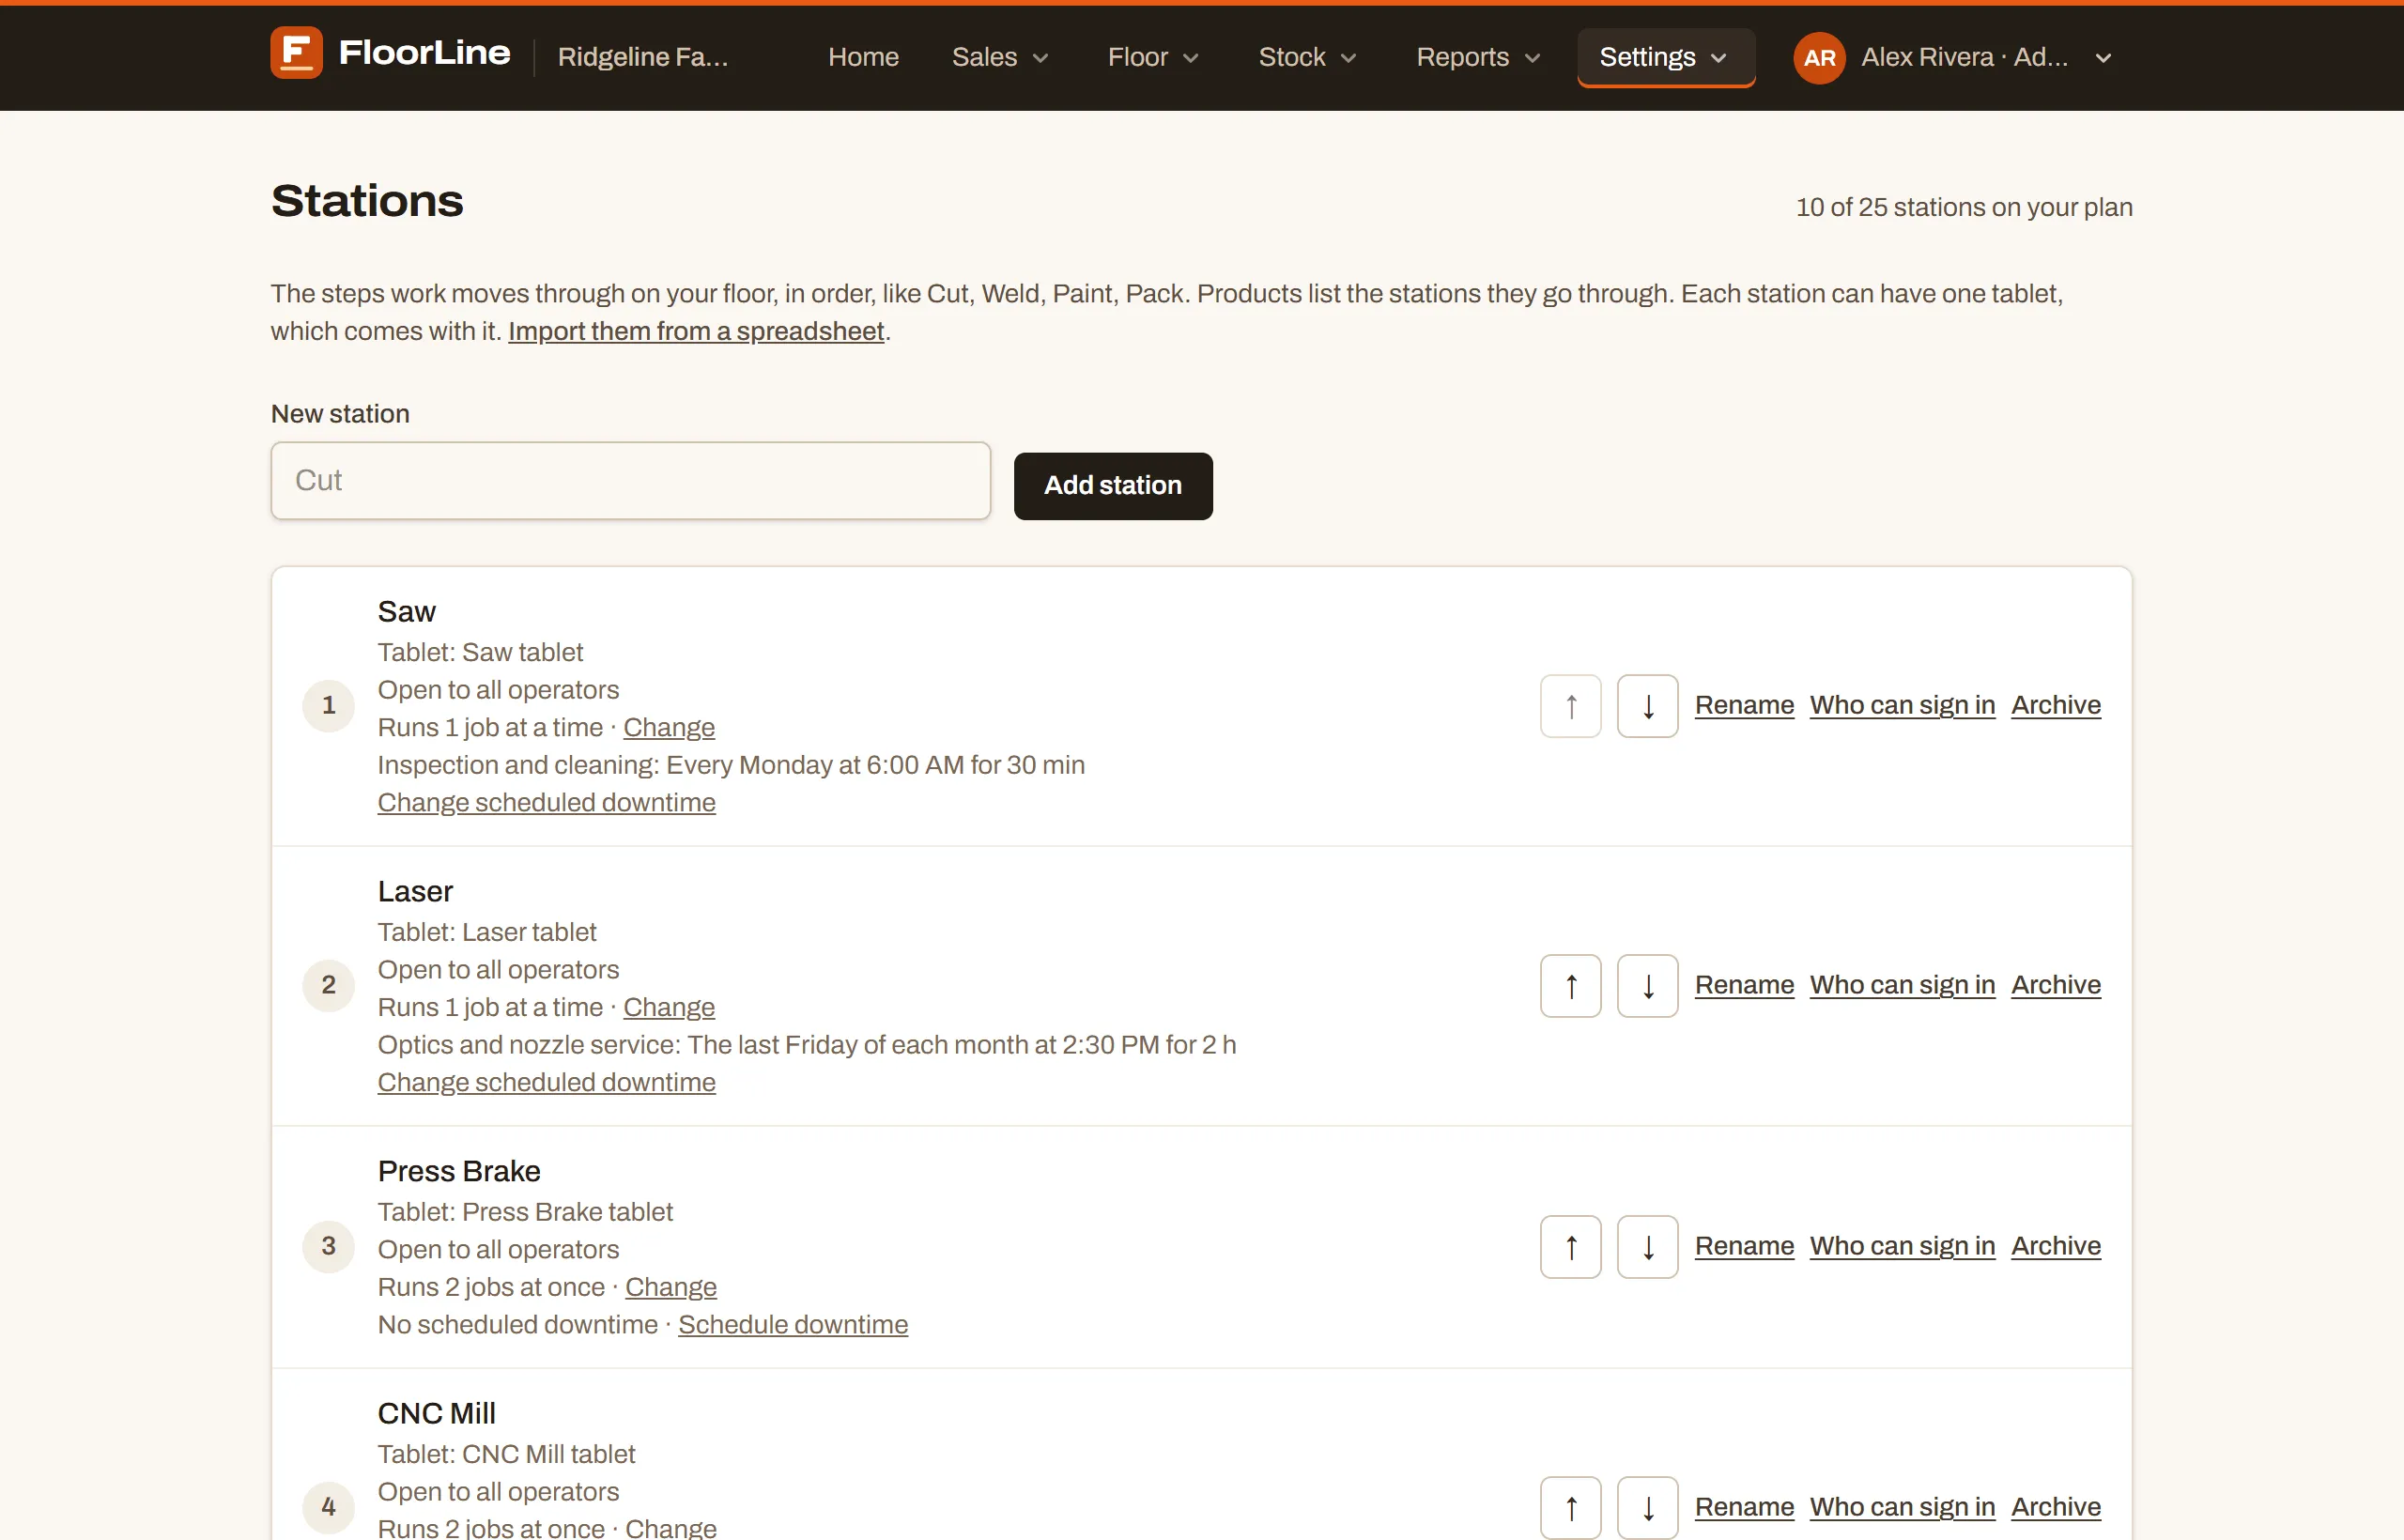
Add a station
Section titled “Add a station”-
Go to Settings → Stations.
-
Type the station’s name in New station, like “Cut” or “Brake press”.
-
Choose Add station.

- The new station goes at the end of the floor order. Move it with the arrows (below).
- Active stations’ names must be different from each other (ignoring capitals).
- Name stations for the kind of work, not the person who runs them. If you have two of the same machine and want to track them apart, add both (“Saw 1”, “Saw 2”). If they share the same jobs, use one station and raise its capacity.
A new shop starts with none:
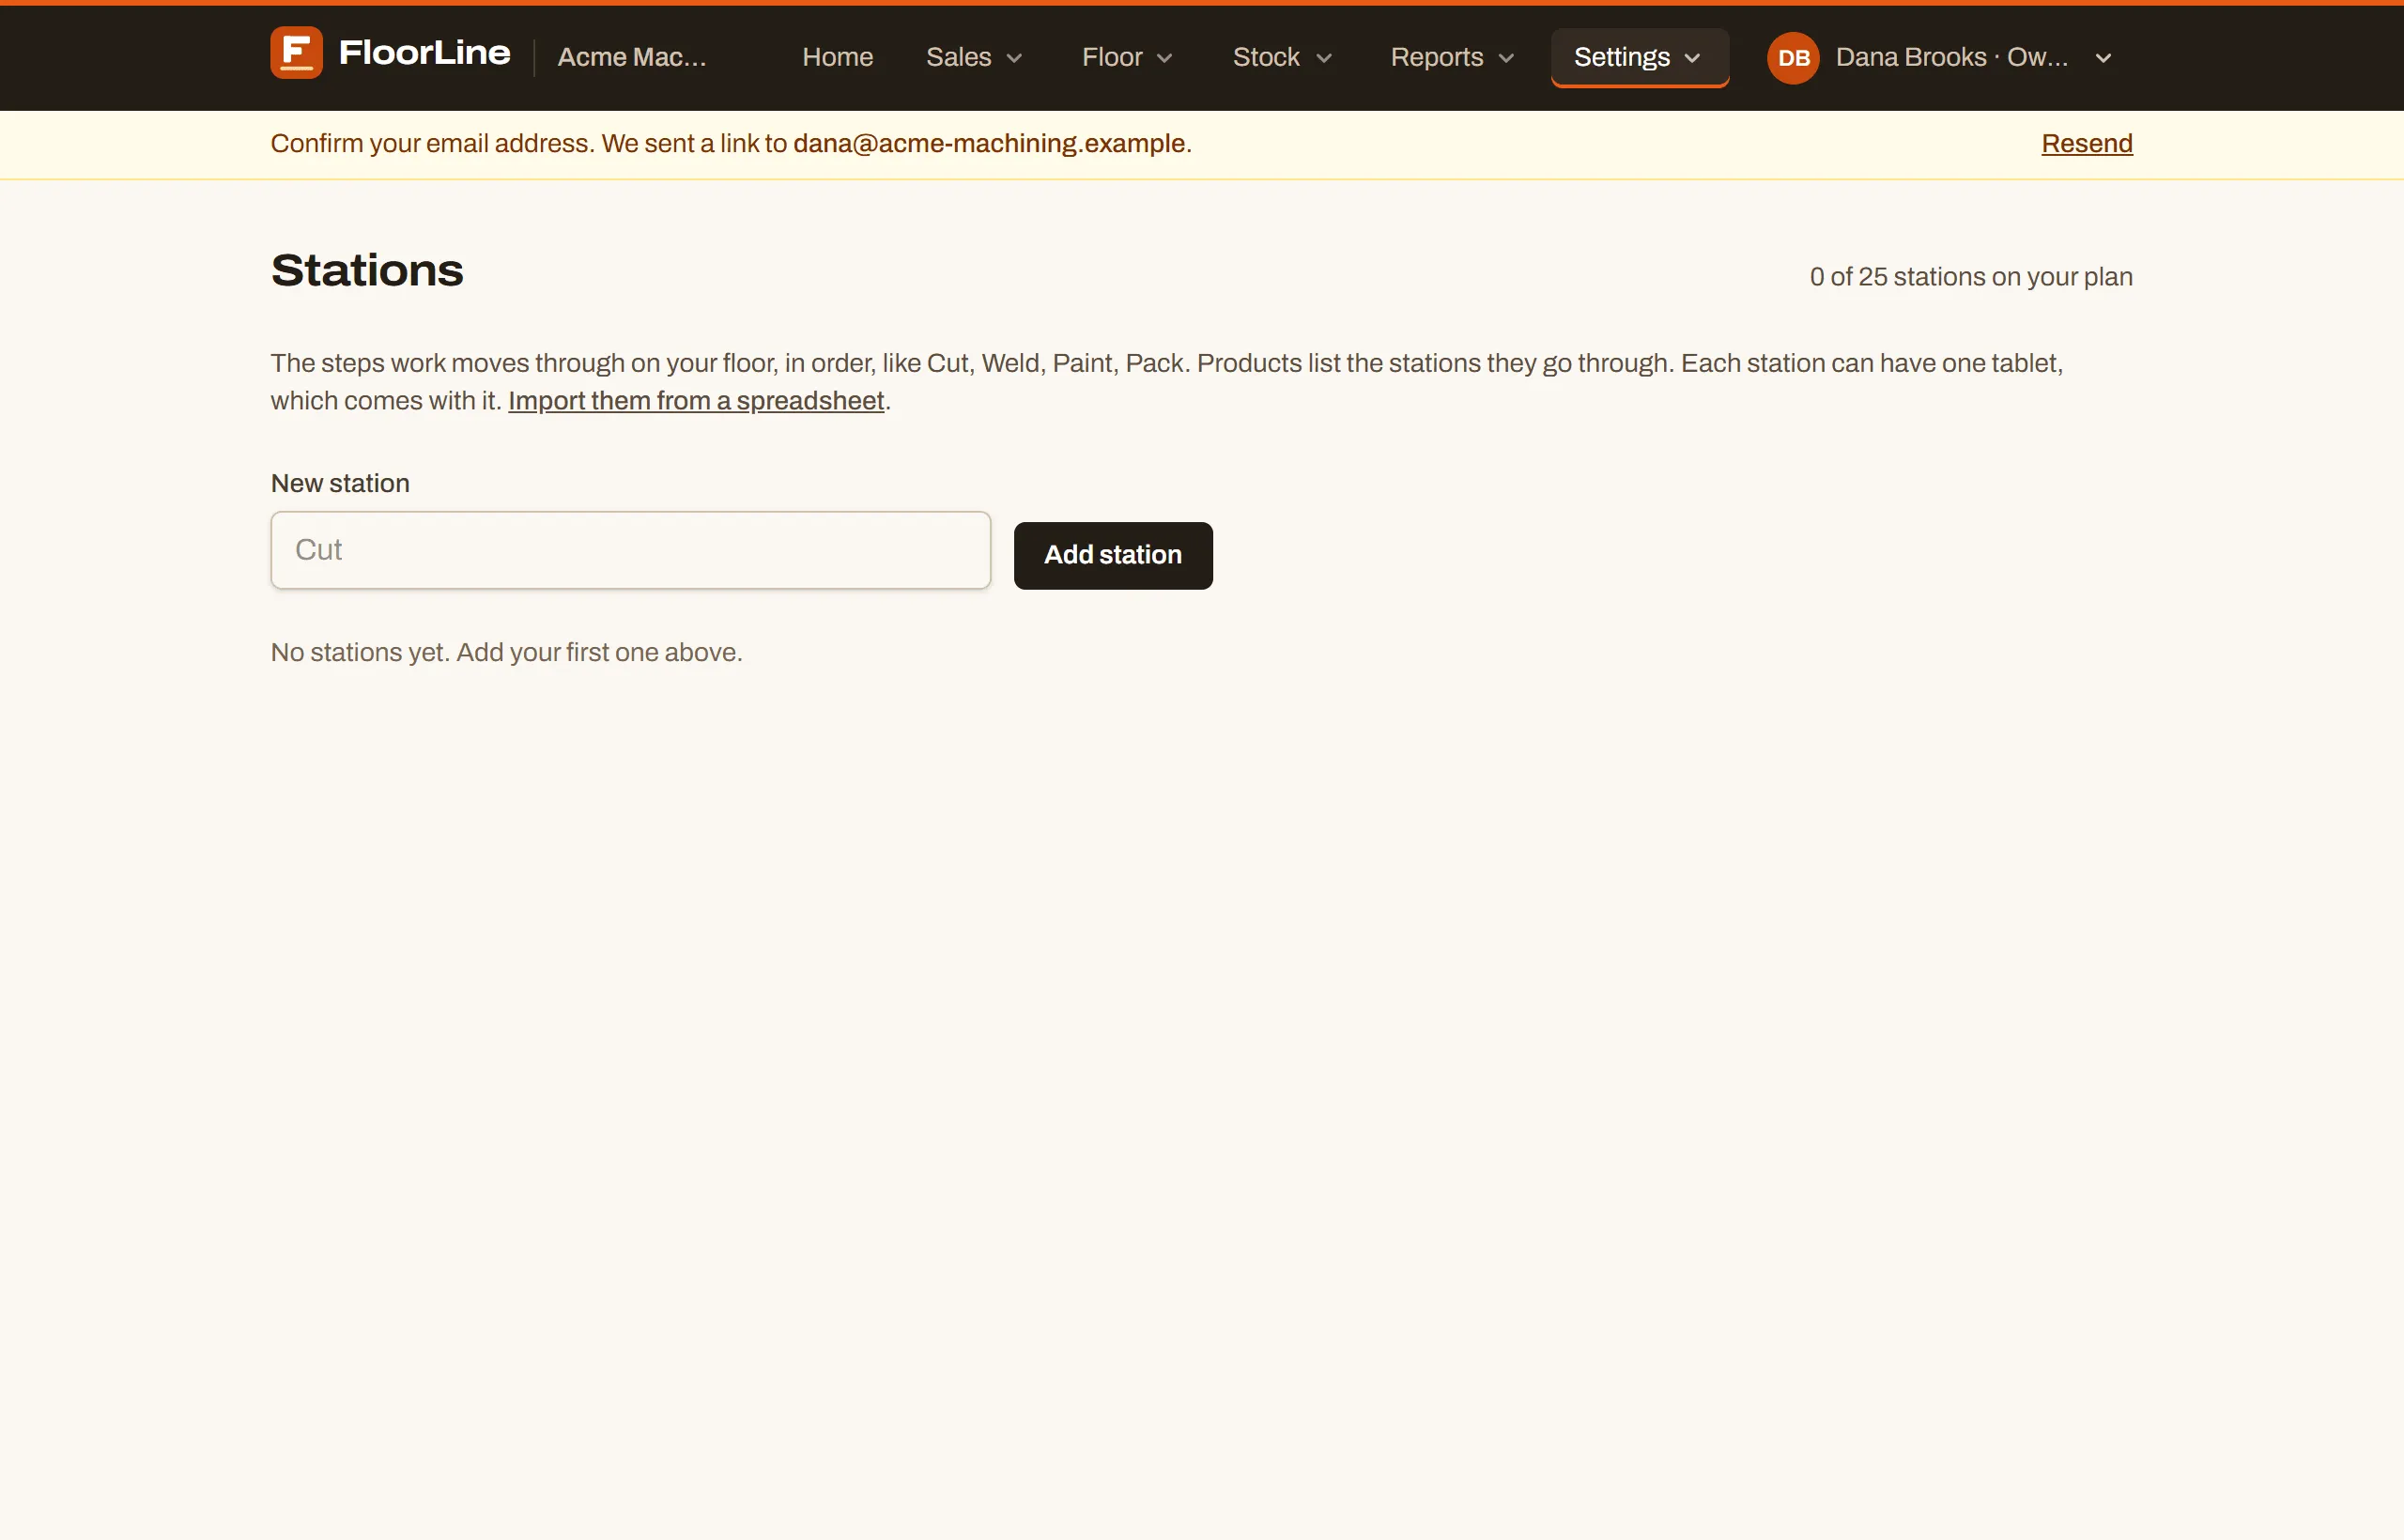
On Mid and up you can also add many at once from a spreadsheet. See Import from spreadsheets.
Put stations in floor order
Section titled “Put stations in floor order”Floor order is the order your stations are listed in: on this page, on the Live view board, and wherever you pick a station. Match it to the way work usually flows through your shop. (Each item’s routing still sets its own order of steps.)
On a station’s row, use ↑ to move it earlier and ↓ to move it later. Each move saves right away.
Rename a station
Section titled “Rename a station”Choose Rename on the station’s row, type the new name, and choose Save. Routings, work orders, and history all follow the new name.
Set how many jobs a station runs at once
Section titled “Set how many jobs a station runs at once”Each station’s row says how many jobs it runs at a time, like “Runs 1 job at a time”. If a station has three drills that work three jobs side by side, set it to 3 so the planning calendar plans three jobs there at once.
-
On the station’s row, choose Change next to “Runs 1 job at a time”.
-
Enter a number from 1 to 50 in Jobs at once.
-
Choose Save.
You can set capacity on every plan. The planning calendar that uses it is on Mid and up.
Archive and restore a station
Section titled “Archive and restore a station”Stations are never deleted, because routings and job history point at them. When you stop using one, archive it.
-
Choose Archive on the station’s row.
-
Confirm with Archive and the station’s name (or Keep to back out).
- Archiving frees the station’s slot on your plan.
- If the station has a tablet, the tablet is unpaired and shows Needs a station on the Tablets page. Pair it with another station there, or revoke it. Job history is kept.
- An item whose routing uses an archived station can’t get new work orders until you change its routing or restore the station.
- Archived stations are listed under Archived stations at the bottom. Choose Restore to bring one back. Restoring needs a free slot.
- You can archive a station even while the shop is read-only.
Station slots on your plan
Section titled “Station slots on your plan”Each active station uses one of your plan’s station slots, and its one tablet comes with it. Tablets don’t count separately.
| Plan | Stations (each with one tablet) |
|---|---|
| Free | 3 |
| Basic | 5 |
| Mid | 25 |
| High | Unlimited |
The top of the page shows how many you’ve used, like “4 of 5 stations on your plan”. When every slot is in use, archive a station you no longer use, or have the owner add stations or upgrade in Billing. Extra stations are an add-on on Basic and Mid. See Plans and limits.
Choose who can sign in at a station
Section titled “Choose who can sign in at a station”By default every operator can sign in on every station’s tablet. To keep a station to the people trained on it, choose them.
-
On the station’s row, choose Who can sign in.
-
Pick Only selected operators.
-
Tick each operator who may sign in there.
-
Choose Save.

- Operators who aren’t chosen don’t appear on that tablet’s list of names. If one tries anyway, the tablet says “You’re not set up for this station. Ask an admin to add you.”
- Admins and managers with a PIN can always sign in, at every station.
- To open the station to everyone again, pick Open to all operators and choose Save.
- Each row shows the setting: “Open to all operators” or “Only” and the names.
- Below Mid the choice is kept but not enforced: the row says it’s paused and every operator can sign in. It applies again if you move back to Mid or up.
Schedule downtime
Section titled “Schedule downtime”Scheduled downtime is time a station is planned to stop, like a Monday inspection, a weekly cleaning, or a service visit. The planning calendar pauses work across it, like closed hours, and OEE leaves it out of the time the station was meant to run.
-
On the station’s row, choose Schedule downtime (or Change scheduled downtime if it has some).
-
Choose Add scheduled downtime.
-
In What for, describe it, like “Inspection and cleaning”.
-
Under Repeats, pick one:
- Every week: tick the days under On.
- Every few weeks: enter Every (2 to 12 weeks), pick Starting the week of, and tick the days under On.
- Once a month: pick The (First, Second, Third, Fourth, or Last) and the Weekday, like the last Friday of each month.
- Just once: pick the Day.
-
Set Starts at and how many Minutes it lasts (5 to 1,440, in steps of 5). The dialog shows the rule in words so you can check it.
-
Add more with Add scheduled downtime, or take one off with Remove.
-
Choose Save.
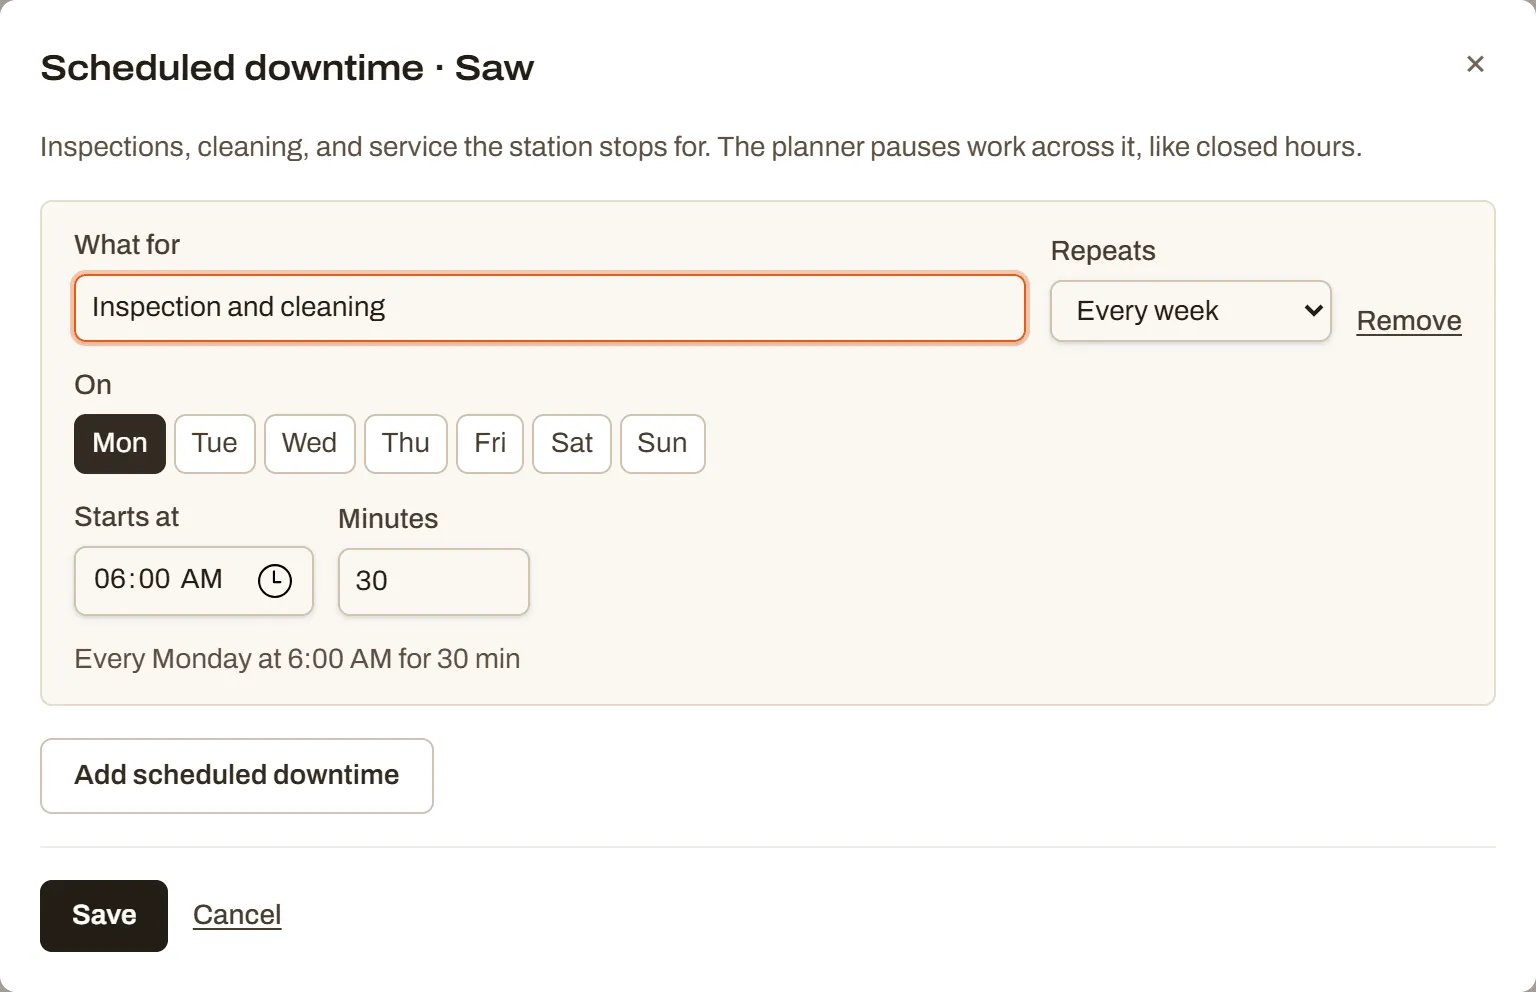
- The start time is on the station’s clock: the shop’s time zone, or its location’s on High.
- A station can have up to 20 scheduled downtimes.
- Each one shows on the station’s row, like “Inspection and cleaning:” followed by when it happens.
Mark a station back up
Section titled “Mark a station back up”When an operator marks a station down on its tablet, the Stations page shows it in amber: Down since the time, the reason, when it’s expected back, and who marked it down. If the station is running again but nobody marked it up on the tablet, choose Mark back up. Admins and managers can do this.
Marking a station back up works on every plan, so a station is never stuck down after a plan change. To report downtime from the tablet, see Downtime and OEE.