
Set up routings
A routing is the list of stations a made item goes through, in order. Each line is a step: a station and the operation done there, like “Cut to length” at the Saw or “Weld the frame” at Weld. A station can appear more than once, for example Deburr before and after Weld.
When you create a work order, its steps come from the item’s routing, and operators work them one at a time on the tablet at each station. Admins and managers edit routings on the item’s page. Routings are on every plan; throughput, instructions, and quality checks depend on the plan, as marked below.
Build a routing
Section titled “Build a routing”-
Go to Stock → Items and open a made item (or click Add item for a new one).
-
In the Routing section, click Add new line.
-
In the Station column, start typing a station’s name and pick it from the list.
-
Click Add the operation in the Operation column. In the dialog, type what happens at this step under Operation, like “Deburr edges”, and click Done.
-
Click Add line for the next step, and repeat until the routing is complete.
-
Click Save in the bar at the top of the page.
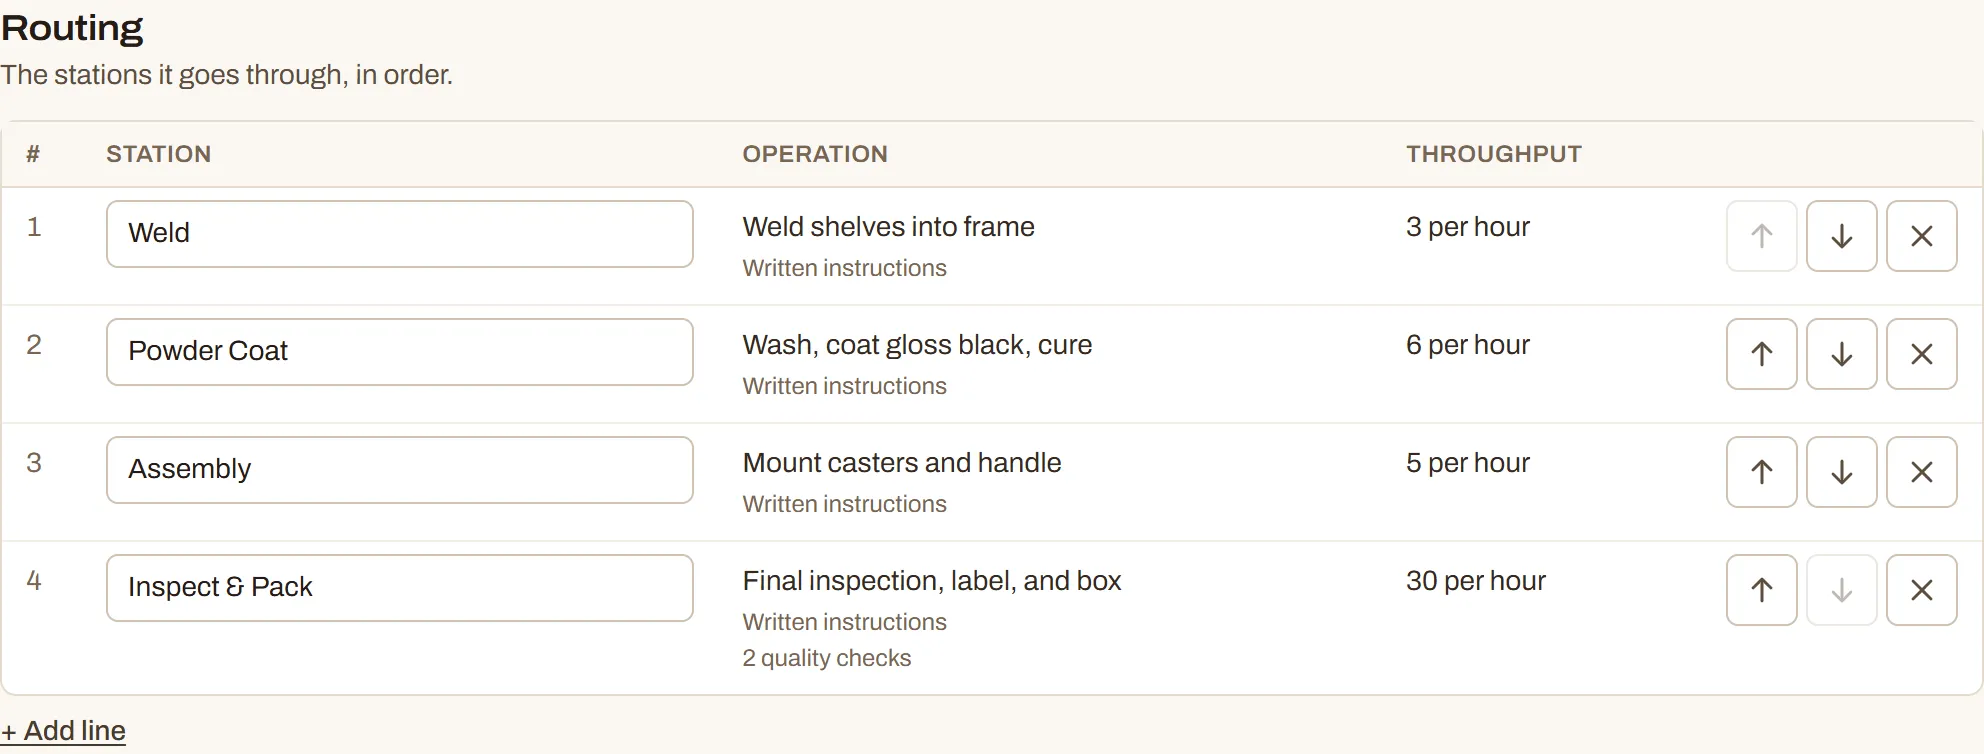
To change the order, use the up and down arrows at the end of a line. The X removes a line. Like everything on the item page, nothing changes until you click Save, and Undo in the bar puts the routing back. A routing can have up to 50 steps.
If a station in a routing is archived, its line says “Archived: pick another station”. Pick an active station and save. Until then, FloorLine won’t create work orders for the item.
Set a step’s throughput
Section titled “Set a step’s throughput”Throughput says how fast a step goes. FloorLine uses it to:
- estimate each step’s time, and the order’s total, on the work order page,
- size each step on the planning calendar,
- show an estimated completion time and progress bar on the Live view,
- work out efficiency on the Dashboard and the daily summary.
-
In the Throughput column, click Set (or the current value).
-
Choose how to measure it: Units per hour (like 60 an hour), or Time for one unit with a number and seconds, minutes, or hours (like 10 minutes).
-
Click Apply, then Save on the item page.
If the item’s unit isn’t each, the choices use it, like “ft per hour”. Remove throughput clears it. Steps without a throughput still work; FloorLine just can’t estimate them, and the planner gives them an hour.
Below Mid, the Throughput column is hidden, and throughputs saved earlier are kept for when the shop is on Mid again.
Add instructions to a step
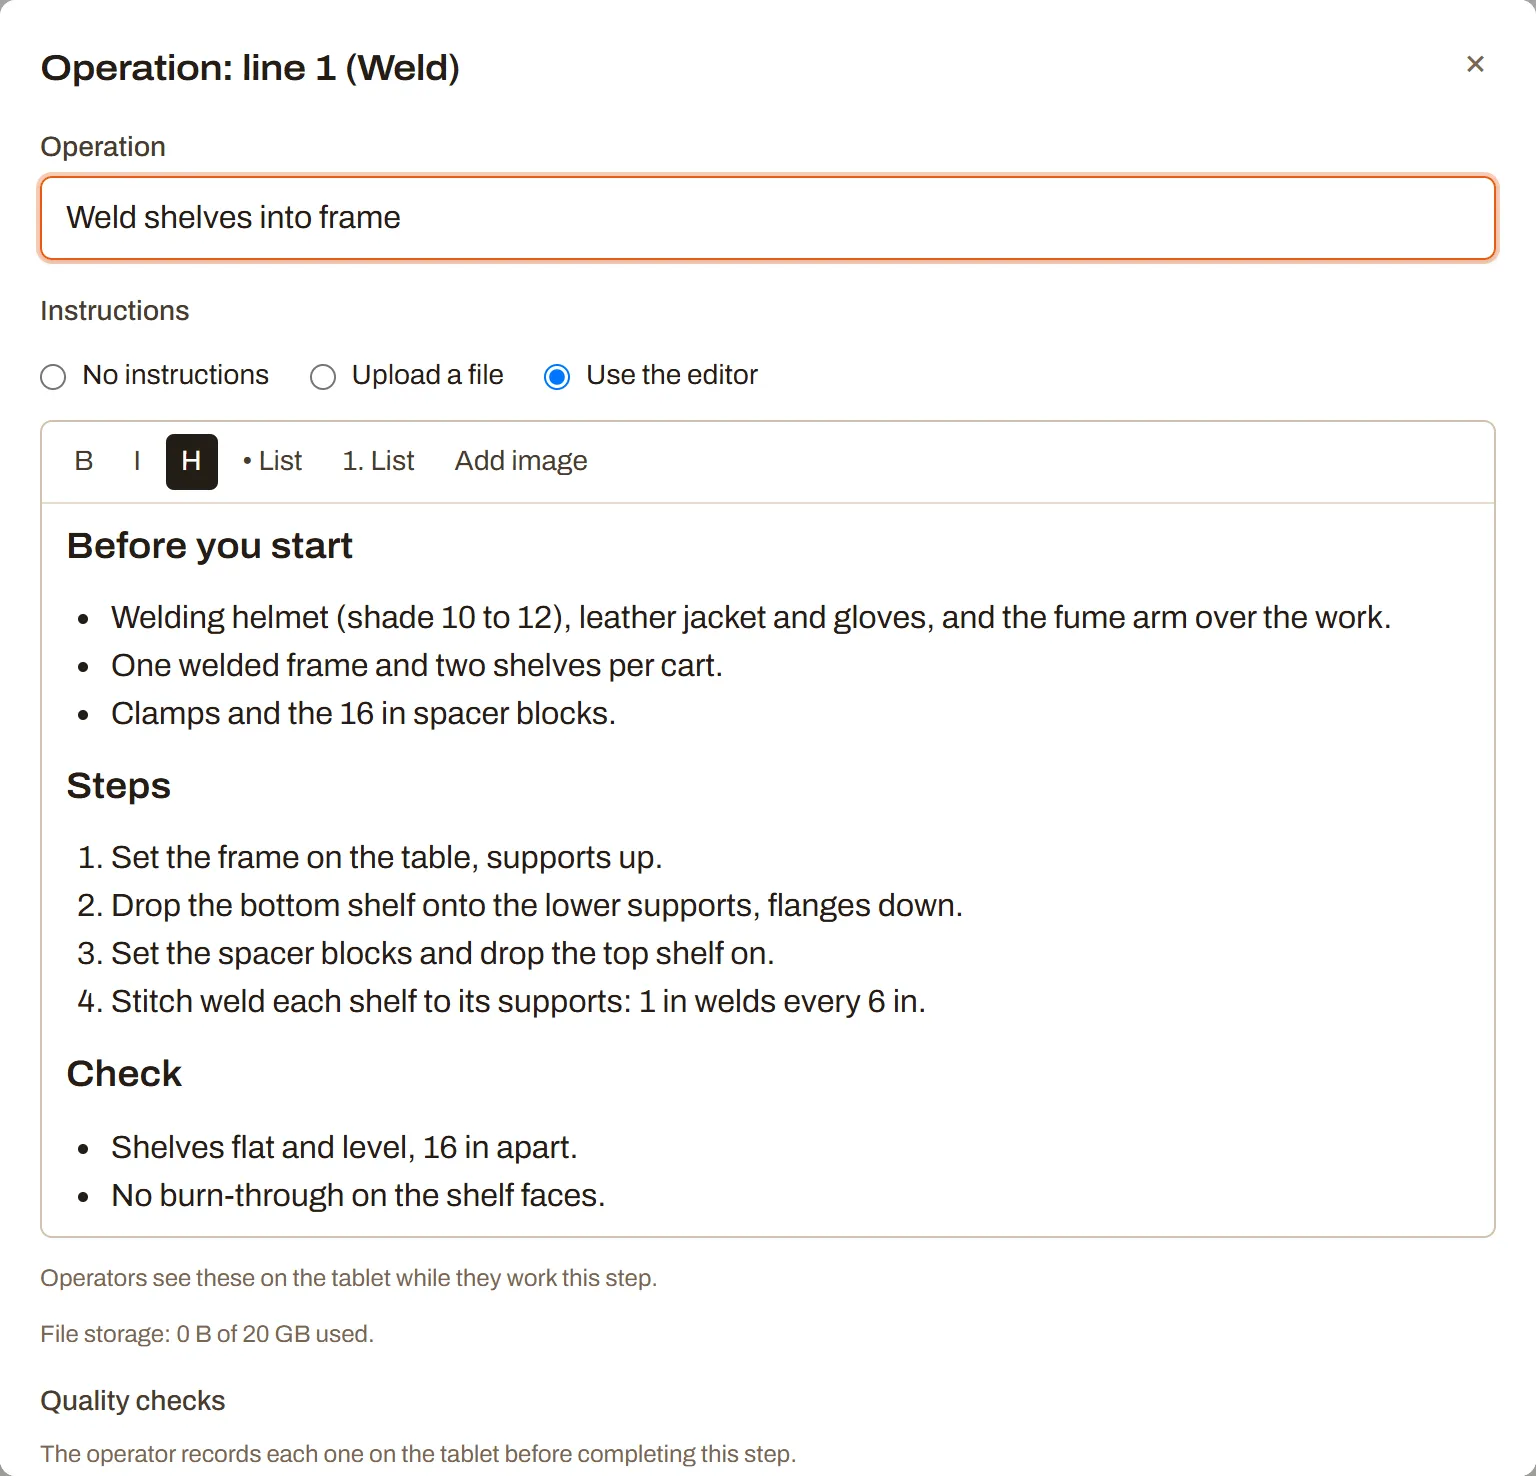
Section titled “Add instructions to a step”Each step’s Operation dialog can hold the instructions an operator needs at that station. Operators see them on the tablet while they work the step.
-
Click the step’s operation in the Routing table.
-
Under Instructions, choose one:
- No instructions.
- Upload a file: click Choose a file and pick a drawing, spec sheet, or work instruction (a PDF, an image, or any file) up to 25 MB. Operators download it on the tablet.
- Use the editor: write the instructions in the box. The toolbar has bold, italic, a heading, bulleted and numbered lists, and Add image for photos (PNG, JPEG, GIF, or WebP, up to 10 MB).
-
Click Done, then Save on the item page.
Once a file is uploaded, the dialog shows its name and size with Download and Replace. In the Routing table, a step with instructions says “File:” with the file’s name, or “Written instructions”.
Files and images count toward your plan’s file storage, shown at the bottom of the dialog as “File storage: … used”. If it’s full, the dialog says so; remove files from other steps, or add storage under Billing. See Plans and limits.
On the tablet, the current step shows its instructions: a large Download button for a file, or the written instructions with their images. The work order page links each step’s instructions too.
Add quality checks to a step
Section titled “Add quality checks to a step”Quality checks are what the operator must record at a step before completing it: an answer, a measurement, or a photo.
-
Click the step’s operation in the Routing table.
-
Under Quality checks, click + Add a quality check.
-
Type what to check, like “Hole diameter”, and choose how it’s answered:
- Written answer: the operator types an answer.
- Measurement: the operator enters a number. Add a Unit (like mm) and, if you like, a Lowest allowed and Highest allowed value.
- Photo: the operator takes a photo with the tablet’s camera.
-
Add as many checks as the step needs (up to 20), then click Done and Save on the item page.
The Routing table shows how many checks each step has, like “2 quality checks”.
What operators see
Section titled “What operators see”Once the step is started, the tablet lists its checks. The operator records each one and taps Save (or Take a photo). A measurement outside its range is saved and marked Out of range so it stands out; it doesn’t stop the job. Complete step waits until every check has a result, and says “Record the quality checks before completing the step.” until then.
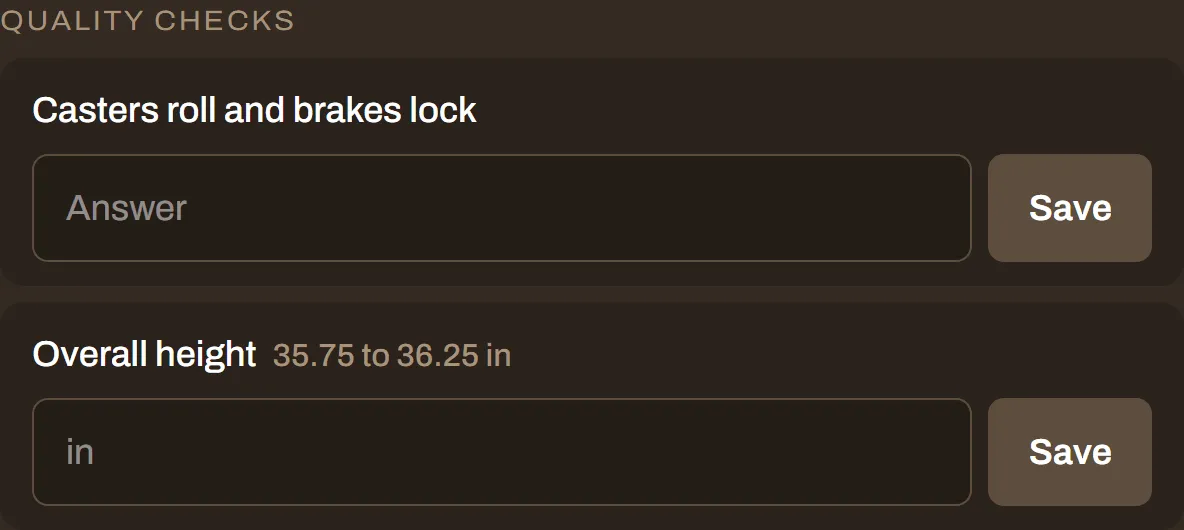
Results show on the work order page under each step. Photos count toward your file storage and need the connection; written answers and measurements can be saved offline. Marking a whole order complete from the work order page doesn’t ask for the checks, so a manager can still close an order out.
Below Mid, quality checks are kept but not asked for, and the Operation dialog says how many the step has.
How routing changes affect work orders
Section titled “How routing changes affect work orders”A work order copies the item’s routing when it’s created: each step’s station, operation, throughput, instructions, and quality checks. Changing the routing later changes the work orders you create from then on, never the ones already out on the floor.